Bottling
You will need to choose a bottle, closure, finishing touches such as shrink-wrap or foil, as well as decide how to get the oil in the bottle.
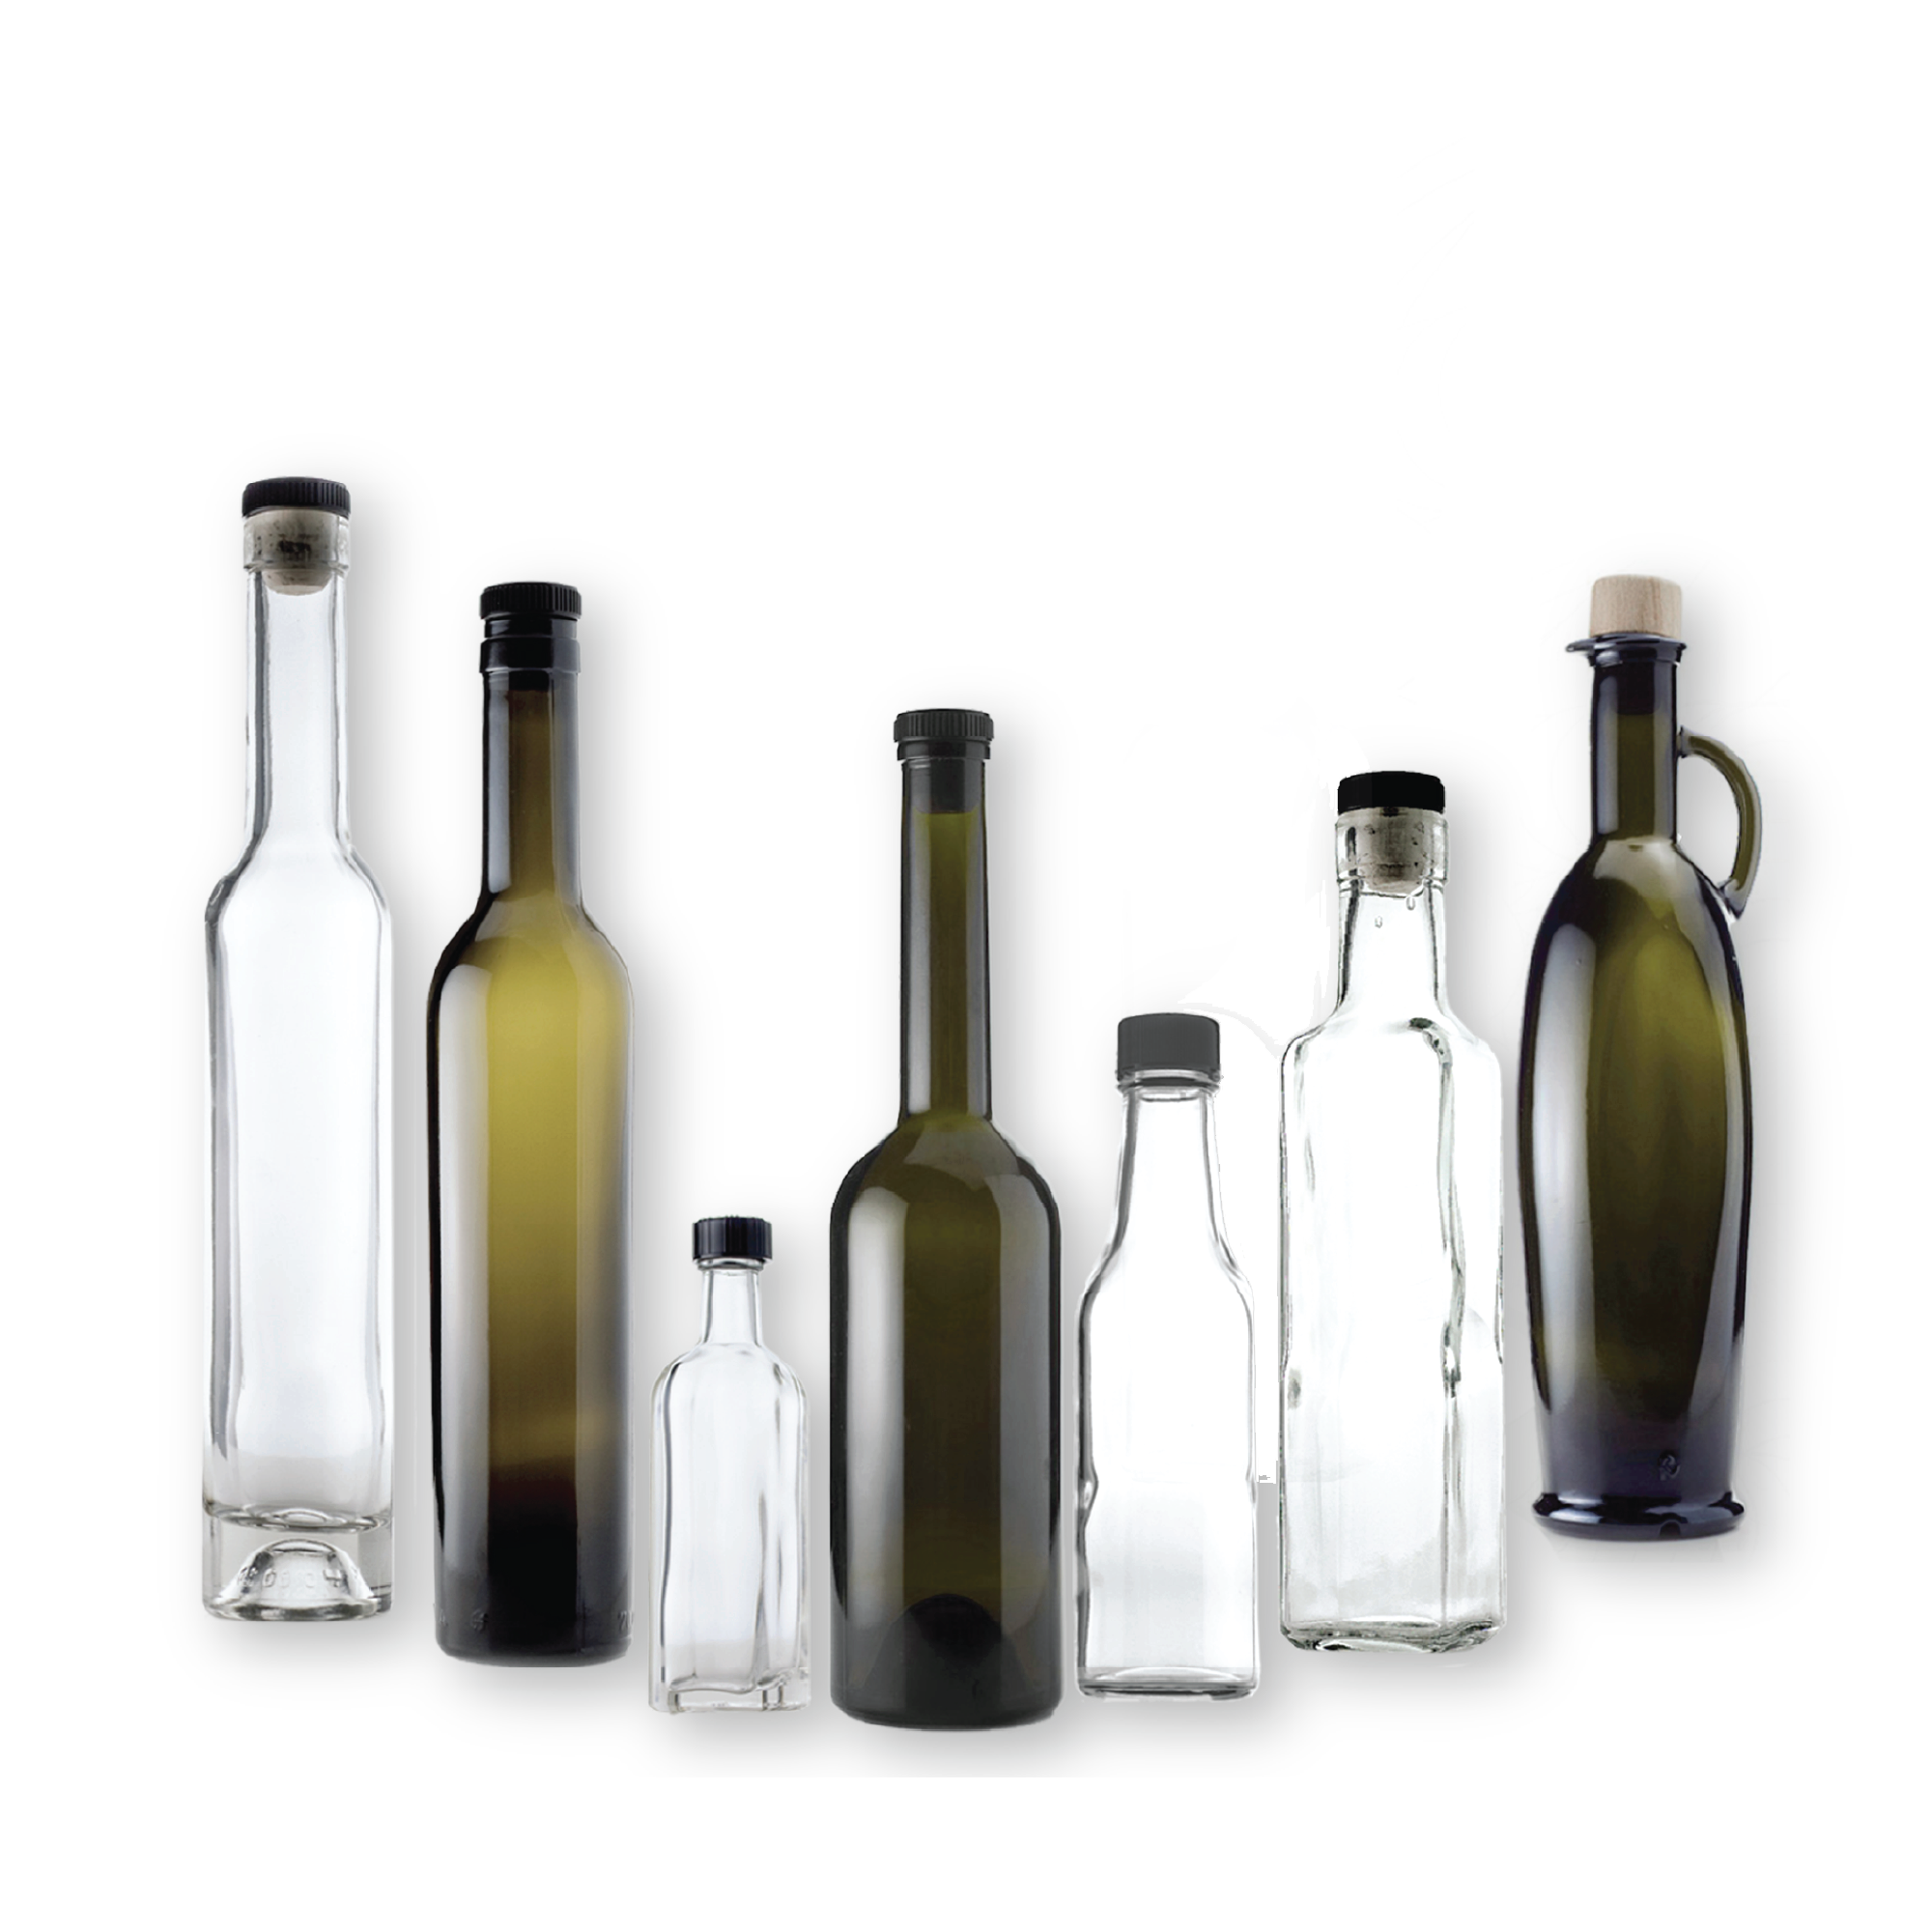
CHOOSING A BOTTLE
Long before it is time to harvest and press your olives, you should be making decisions about what type of package you want to use. The time between when you order bottles and when they are delivered is often measured in months, not days, so be prepared to do your homework well in advance. Because the last stop before your oil ends up on someone’s kitchen counter is a retail shelf, start that homework by doing some market research. Visit the local specialty food stores, grocery stores, cheese shops, gift shops – anywhere you believe you can sell your product.
Study the products that have already gained shelf space. What makes one stand out from the others? Ask about which are the best sellers and why. The answers might surprise you. Oftentimes, it is how attractively the oil is packaged that makes the difference between moving off the shelves and gathering dust on them.
Equally important is that your package protect the product. A clear bottle might show off a pretty harvest-fresh color, but it certainly won’t protect the integrity of the oil from damaging exposure to light.
By the time you are ready to place an order for your packaging, you should already have thought through the following factors.
Bottle Size: will you bottle your oil in 250ml, 375ml or 500ml? (If these volume numbers confuse you, see our Useful Number Conversions page.) Do you want to have more than one price point option for the retailer? Will you make more profit with greater sales volume of smaller size units or the other way around? Should you offer smaller sample sizes to introduce a full line of extra virgin olive oil and branded flavored oils or sell them as a seasonal gift package?
Bottle Shape: it might seem like bottle shape would just be a matter of preference, but think about the practical matters of shape as well. How easy will it be to apply a label? Does the bottle shape dictate a label size that won’t work for you? Is the height of the bottle too tall for the average retail shelf or kitchen closet? Is it narrow enough to warrant two shelf facings instead of one? Is it unstable? How will the shape affect shipping and outer carton packaging?
Bottle Color: what are the pros and cons of packaging olive oil in clear glass bottles?Light is detrimental to oil quality and accelerates oxidation. This is true of all light sources, including fluorescent lights at the store. Darker glass colors like amber, green, dark blue, or black are always preferable to clear glass from a quality point of view. If you want to impress the end user with quality, find space on the label to explain why it is housed in a dark bottle. Make them care more about the fact that you are protecting the oil than seeing a fresh, green color. Be aware, however, that many studies show that the consumer is more likely to buy a product if they can actually see the content. This creates an obvious dilemma.
Bottle Material: confirm with your bottle supplier what the raw materials are that make up the glass. Increasingly, many buyers now require certification, or at least confirmation, that the glass bottle you use does not contain lead.
Bottle Availability: think about two things when it comes to availability. One, how long will it take to actually receive your bottles from the time of order? Two, if you are building a brand image with a distinctive bottle color or style, it is important to know how long that bottle will be available. Don’t get boxed in with a bottle so “trendy” that as soon as you create awareness for your unique package, it is not available anymore. It often happens.
CHOOSING A CLOSURE
There are three basic types of bottle closures commonly used in the olive oil industry: bar tops, screw tops, and Ropp tops. Although other closures are occasionally used such as cork, the three mentioned above are used on the vast majority of the world’s production due to their reliability and cost effectiveness.
Bar Tops are plastic discs with a natural or synthetic cork attached to the underside. Typically, the plastic disc is designed to have the same diameter as the outside diameter of the neck of the bottle. It is important to make sure that the cork on the underside of the disc is the proper inside diameter for the neck of the bottle you are using. They are typically sized in 0.5mm (0.02”) increments, and that 0.5mm can make all the difference in whether your closure will leak or not. It must be perfectly fitted to the bottle. Bar tops are usually implemented with a shrink-wrap capsule in order to make them tamper proof. One advantage of bar tops is that they can be applied by hand and require no special equipment. They are interchangeable between bottles with the same interior neck diameter. Furthermore, they give the packaging a more elegant look than other closures without significantly compromising the seal. The downside of bar tops is that they can pop, even when shrink-wrapped, when there are significant temperature or pressure changes during shipping. These changes could occur during transit on a hot day or over a mountain pass. (Making sure not to overfill bottles can alleviate this problem.) Bar tops, when combined with shrink-wrap capsules, are generally the most expensive closure of the three types discussed here.
Screw Tops also called screw caps, come in a number of configurations but are almost always plastic. Some screw caps have the same outer dimension as the neck of the bottle, others are wider. They usually will have some sort of sealing wafer on the underside of the lid to ensure a tight seal once the lid is screwed down. Screw tops, because they are threaded, are not as easily interchangeable between different bottles. Like bar tops, screw caps are popular because they can be applied by hand without any special equipment. A common complaint is that they look a bit clumsy and do not add to the aesthetic value of the packaging. On the plus side, the seal is much more reliable and resistant to pressure changes than bar tops. The cost of screw caps will usually price out between the bar top and the Ropp top described below.
Ropp Tops are the metal twist tops that one finds on many large production bottles. The defining characteristic of Ropp tops is that there is a tamper proof ring on the closure. When you first twist off the closure, you can hear it tear away from the lower portion and know that the bottle has not been opened since it was initially sealed. While Ropp tops are extremely reliable closures and very resistant to pressure changes, there are some drawbacks. First, they require a special and expensive piece of equipment to apply. Second, they are not particularly attractive. Some companies apply a shrink-wrap capsule to make them more attractive. The closures themselves are generally less expensive than bar tops or screw tops, however, these savings are offset by the cost of the application machine, at least in small production situations.
CHOOSING THE FINISHING TOUCH
If you think of your oil as a very special product and present it as such, the consumer will think it is special too. Sometimes, a unique finishing touch can be the biggest point of difference on the retail shelf and may be the reason your oil sells over other options.
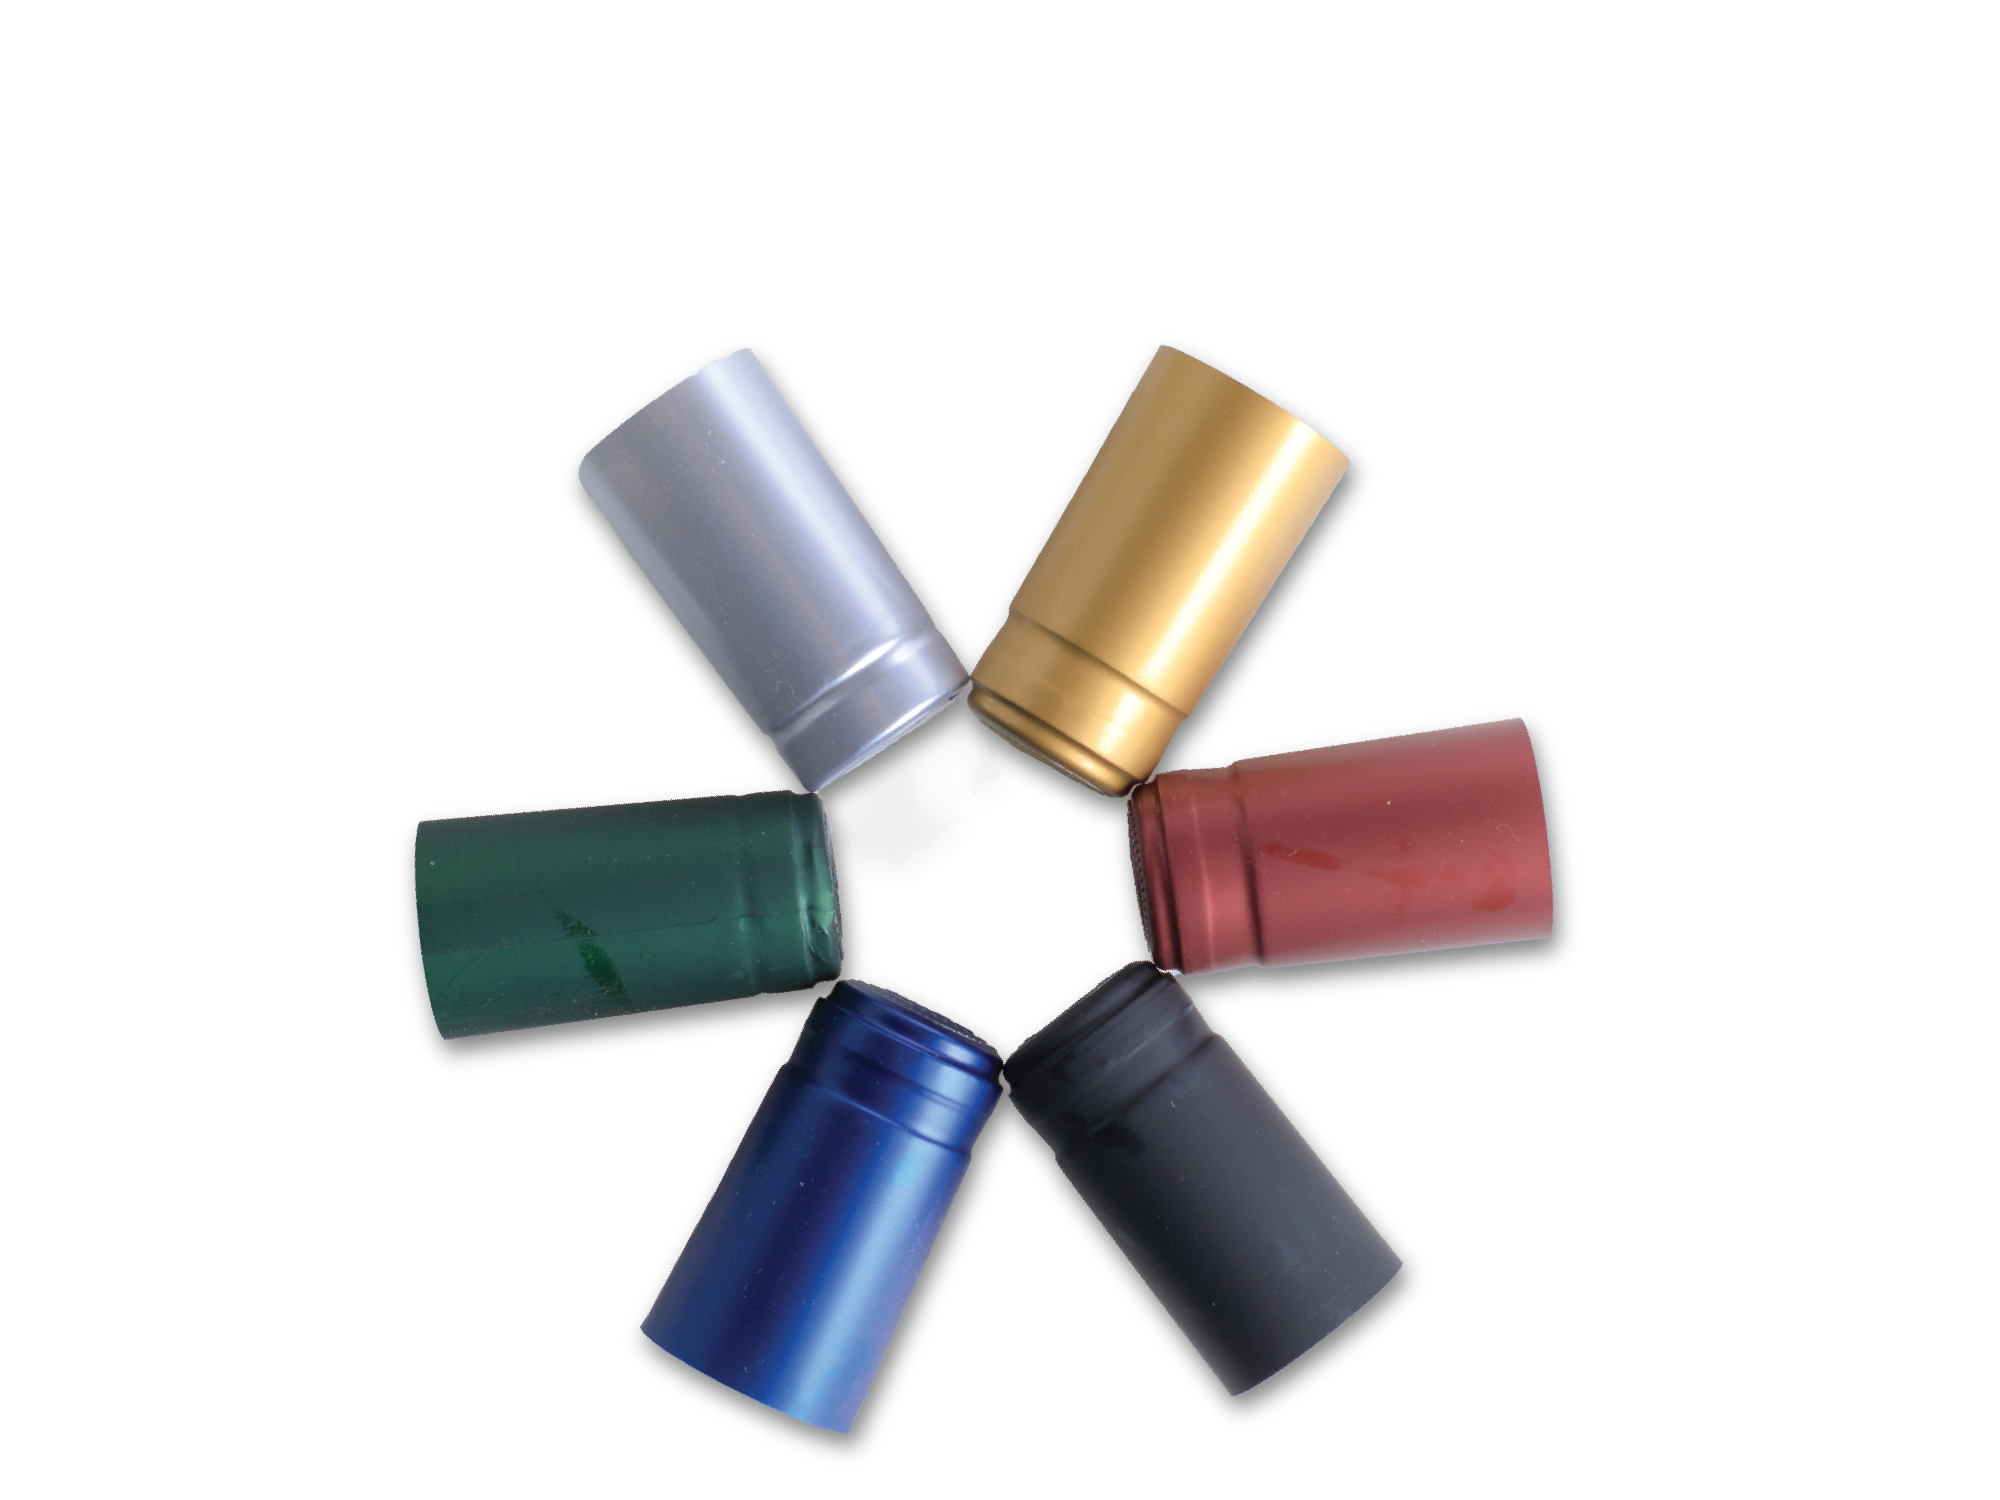
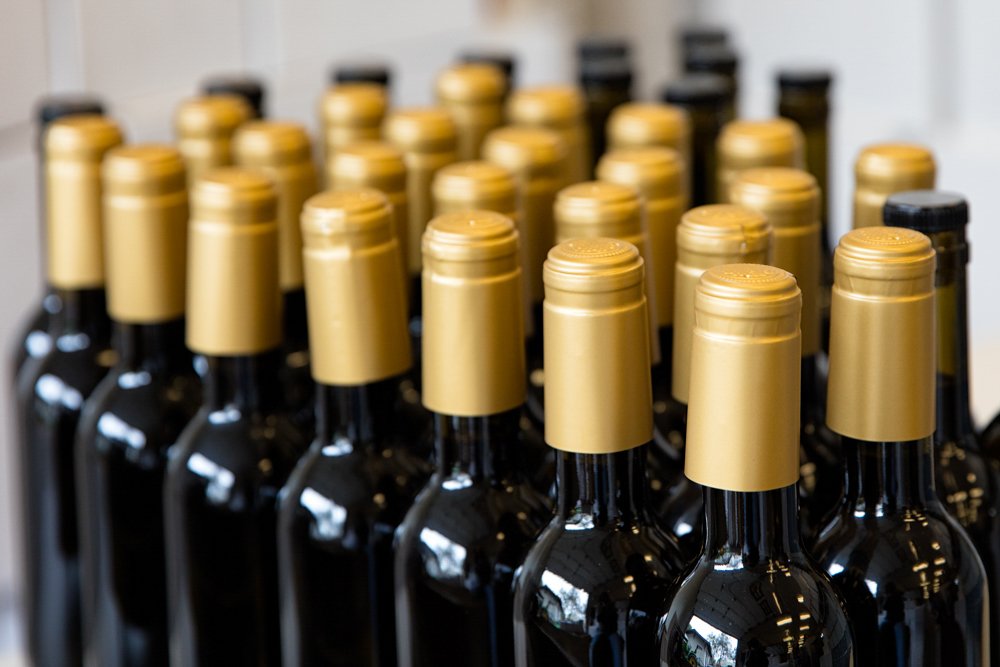
Shrink-Wrap Capsules are the most common finishing touch used to create a tamper proof seal on olive oil bottles. They are made of plastic and can be shrunk to fit with inexpensive equipment such as a heat gun or a shrink wrapper. (Use with caution!) They are easy to use, and cheap to buy and to apply. They come in many different colors and finishes (e.g. as matt or shiny). They most commonly have a grape leaf design on top. They can be personalized if bought in large quantities.
Raffia is a beautiful finishing touch, a good drip barrier, and an excellent marketing tool but it has many drawbacks. It is expensive, difficult, and time consuming to apply. Some imported raffia has to be treated to kill beetle eggs that may be in it (you would not want them to hatch after delivery!). Some domestic raffia is dyed and may stain. This is only a practical option for small lots or home use.
Wax Finishes are an excellent choice for marketing purposes. They are elegant, come in different colors, and can help create a beautiful finished product. They are, however, difficult to apply and to remove, and are more expensive than a simple shrink-wrap.
Foil Capsules are made of metal. They are commonly used on wine bottles. A spinner is needed to apply them. They are more expensive to buy and to apply.
Buy Extra Virgin Olive Oil
~
Buy Bottles
~
Buy Bottling Equipment
~
Buy Closures
~
Buy Extra Virgin Olive Oil ~ Buy Bottles ~ Buy Bottling Equipment ~ Buy Closures ~
BOTTLING EQUIPMENT
Many producers think they must buy an expensive bottling line or bring their oil to a bottler, but there are a variety of inexpensive alternatives. There are several decisions to be made, described below.
When to Bottle
The first decision is when to bottle. Oil keeps better in drums or tanks than in bottles, so bottling small quantities, only as much as needed for ongoing sales, is a wise decision. Better to let the oil settle in a conical tank or drum where it can be decanted than in your bottle. Drums topped with inert gas or tanks with floating lids keep out light and minimize oxidation.
You can buy containers and accessories at The Olive Oil Source Wholesale Store.
You may also find you are selling more of your 250ml size than your 500ml, for instance. If you have already bottled the whole year's harvest it will be too late to shift bottle sizes. Some producers decide to change their label or closure or have a demand for a special event or promotional label. Bottling as you go gives you greater packaging flexibility.
The decision you make on when to bottle will partly drive what equipment you need. For example, bottling 500 gallons of oil in one day is best done on a mechanized line. If you bottle once a week throughout the year it would only be 10 gallons at a time.
Bottling by Hand
For small quantities, the simplest and cheapest way to bottle is to fill a 20 to 50 liter fusti from a drum with a hand pump, then fill the bottles by hand using the fusti equipped with a quarter turn spigot. You could fill 150 bottles (250ml each) in 2 hours this way, just eyeballing the fill level.
For those who need to go to a mechanized bottler, there are several small ones on the market. Be aware that machines designed for wine or other water-based products may not work for oil, which can swell seals and gaskets.
Gravity Fillers
Gravity Fillers use an overhead tank and a siphon to fill bottles to a specified height. There are usually several spigots in a row as the bottles fill relatively slowly, stopping at a set fill level. The operator goes down the row replacing filled bottles with empty ones. When the fill spigot is raised, flow is cut off. A gravity filler costs about $300.
Vacuum fillers
Vacuum fillers suck air out of the bottle, pulling oil in, which speeds the filling process. The operator of a small vacuum filler does one bottle at a time. Such fillers can be adjusted to different fill levels and bottle sizes. The speed at which the bottle fills is also adjustable. With the machine at its highest setting, an operator could fill hundreds of bottles an hour. Single bottle vacuum fillers designed for oil cost about $500. Multi-spout (4-6) vacuum fillers run about $4,000-$5,000.
Pump fillers
For those who need faster throughput, the next option is a pump filler. These usually have several filling spouts and the oil can be simultaneously filtered. Cost is around $2,400-$3,500 for a 4-spout filler.
All of the above solutions assume hand corking and finishing. A note of caution: remember not to fill the bottle too full or, as described above, bar top corks may pop in hot conditions.
Integrated Bottling Line
The next step would be a complete filling line. These can be put inline with a capper and labeler. Automated filling lines have a variety of options but one of the most useful is filling by weight or exact volume. Glass bottles are not all created equally and filling to a height on the neck does not put an equal amount of oil in each bottle. To make sure each bottle has the minimum quantity stated on the label, most of the bottles must be overfilled by a small amount. That adds up for large producers. Automated lines can deliver a precise quantity of oil to each bottle. The fill height will be slightly different for each bottle but this is usually hidden by the shrink-wrap closure. Bottles with tall thin necks will show this discrepancy the most and may need to be filled to a certain height on the neck instead.
To deliver a set amount, some machines weigh the empty bottle, and then add a set weight of oil. Bottlers can also be ordered which fill by volume. In some, a piston draws up a calibrated amount of oil, then injects it into the bottle. A less precise method uses a pump and a timer to deliver a set amount of oil per second. Both weight and volume must be adjusted for temperature, as a given amount of oil will fill a greater volume at a higher temperature.
Automated lines are usually custom-designed to your specifications. The size and type of bottle that can be filled are variables which need to be specified. Some fillers can accommodate very small bottles and odd shapes. Some blow air into the bottles first to clean them. Some lines are set up to sterilize the bottles and/or have nitrogen injections to protect the oil.
Capping can be done with a separate machine or with options added to your bottler. Bar top cork, screw cap, or Ropp top options can be specified. You can even order equipment to automate shrink-wrapping for a complete finish. Prices for automated lines are quite variable depending on these options. An automated line with all the bells and whistles that will clean, fill, cap and label the bottle costs about $150,000.
